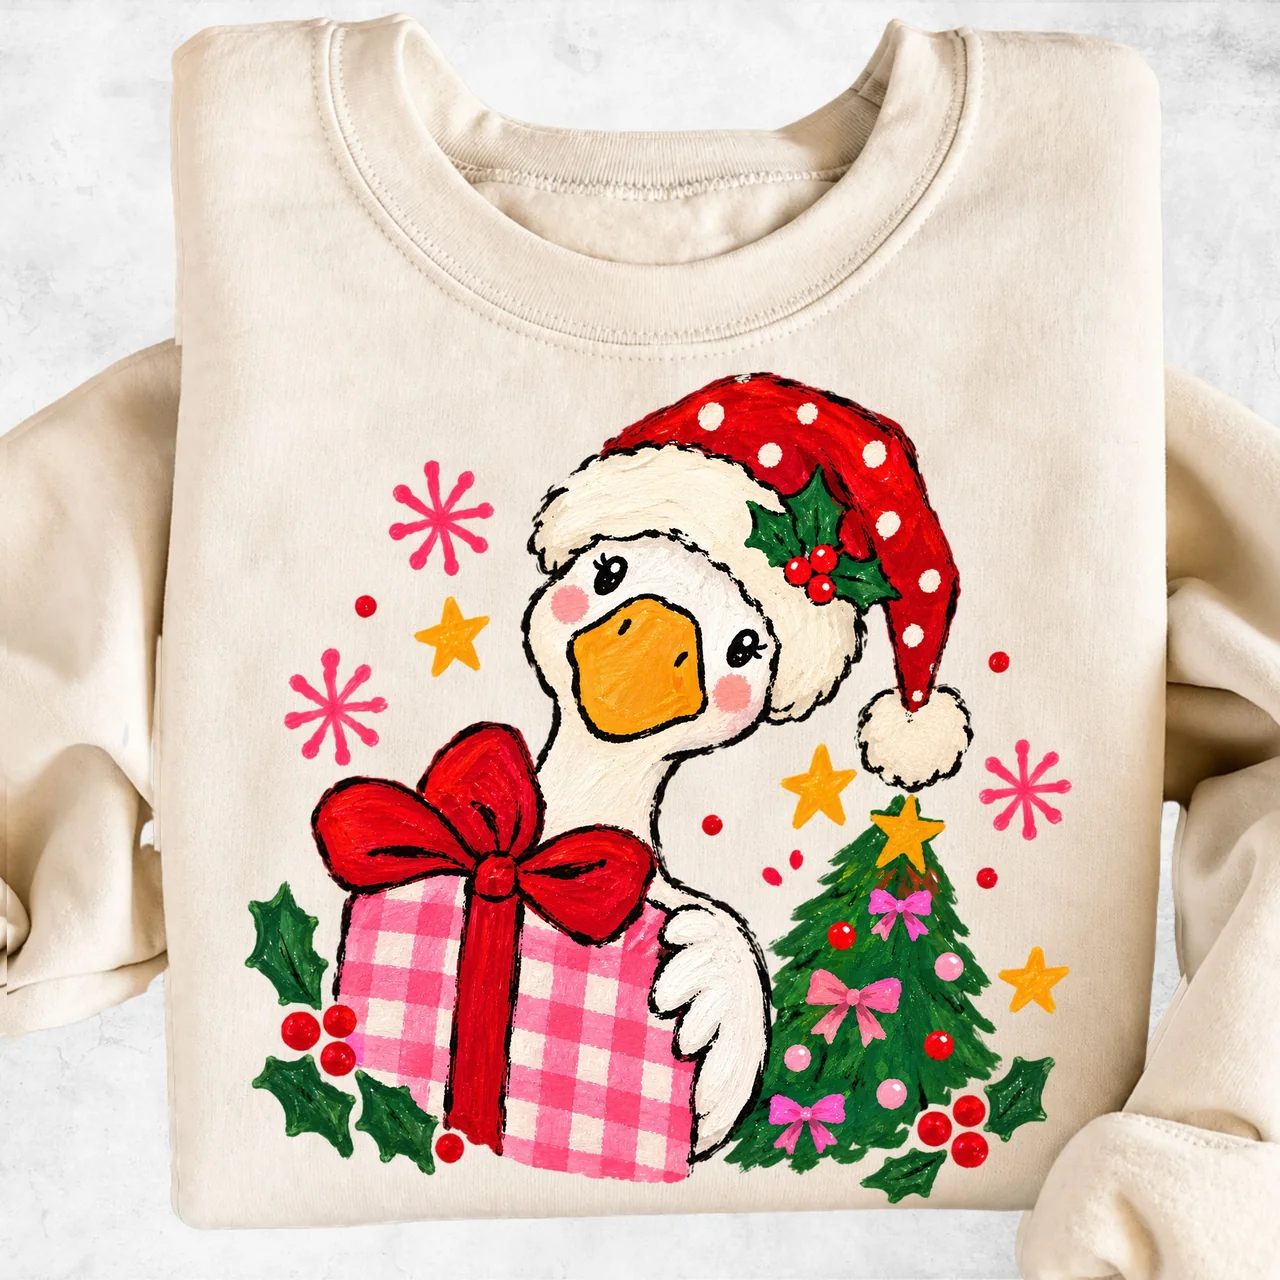
A clear guide to pixel-based PNG and vector SVG files in Cricut Design Space, with practical examples for makers. This guide is educational; always check product details and current software instructions for your own project.
The difference in one minute
A PNG is a raster image made of pixels. It can display detailed colors, painterly textures and transparent areas. An SVG stores shapes as vector paths. Those paths can be resized without the same pixelation limits that apply to raster files.
The right choice depends on what you want to make. Neither format is automatically superior for every craft project.
Use PNG when your artwork needs full color
A PNG is a practical choice for a detailed illustration, soft shading or a photograph-style graphic. It is often useful when you want to print an image rather than cut each colored element separately.
A transparent background can help you position the design over a shirt or project preview without a visible rectangle. Transparency does not prove that a file has sufficient resolution for every print size. Check its pixel dimensions first.
Use SVG when you need editable cut paths
SVGs are especially useful for simple shapes, lettering and layered cut-file designs. In Cricut Design Space, vector files can import as cut-ready paths. Whether they are easy to work with still depends on how the original SVG was designed.
A photograph converted into an SVG does not become magically simple to cut. Highly intricate vector files can contain too many shapes for a comfortable cutting workflow.
A quick workflow for beginners
Start by identifying the final result: a printed graphic, a vinyl cutout or a layered paper design. Check which formats the product seller actually provides, then confirm your software supports them.
In Design Space, choose Upload, select your file, and review the import preview before adding it to the canvas. Cricut explains the raster and vector upload paths separately in its current help article. Interface names can change as Design Space is updated.
Keep your original download untouched in an organized folder. Save a project copy when making edits so you can return to the original if a layer or background is removed unintentionally.
Before buying a digital design
Read the actual product listing. Look for included formats, intended uses, limitations and licensing permissions. A listing labeled “PNG” does not imply an SVG is included, and “sublimation design” does not guarantee compatibility with every machine.
Blumevia links to the original Etsy or Gumroad page for the current specifications, purchase conditions and permissions.
Reference and further reading
Find artwork for your next project
Explore original digital graphics, then follow the linked Etsy or Gumroad listing to confirm exactly what is included.
Explore digital designs ↗